Building secure and user-friendly authentication systems is crucial for any modern web application. As a developer, building authentication can be very time consuming and there are the concerns about safety and user experience. That's where Clerk comes in as a powerful (and easy to integrate) authentication and user management platform.
Since I started using Clerk, I have been able to integrate robust user security, organization management and more within just a few hours for any new Next.js or React project that I've worked on. The developer experience Clerk offers is exceptional and their security standards meet anything you'd expect as well from an authentication management solution.
In this step-by-step guide I will show you how to integrate Clerk into your Next.js 13 application using the App Router. Combined with the versality and efficiency of Next.js 13, you will be able to spin up authentication in no time.
Let's get started!
Prerequisites
To follow along with this tutorial, you should at the very least;
-
Have basic knowledge of React and Next.js
-
Node.js and npm (node package manager) installed on your machine.
-
Registered a Clerk account (you can start with a free tier) over at https://www.clerk.com
Creating your Next.js 13 application
To kick things off with some coding magic, let's spin up a fresh Next.js 13 project! Fire up your terminal and run the following commands:
npx create-next-app@latest clerk-tutorialSet it up to your liking. I typically choose for Tailwind, TypeScript and leave the rest default.
Once you have set up your base project, lets first clear up the home page a little bit over at app/pages.tsx.
const Home = () => {
  return (
    <main className="grid place-content-center min-h-screen">Hello Clerk</main>
  );
};

export default Home;
To verify that everything is working, run the project.
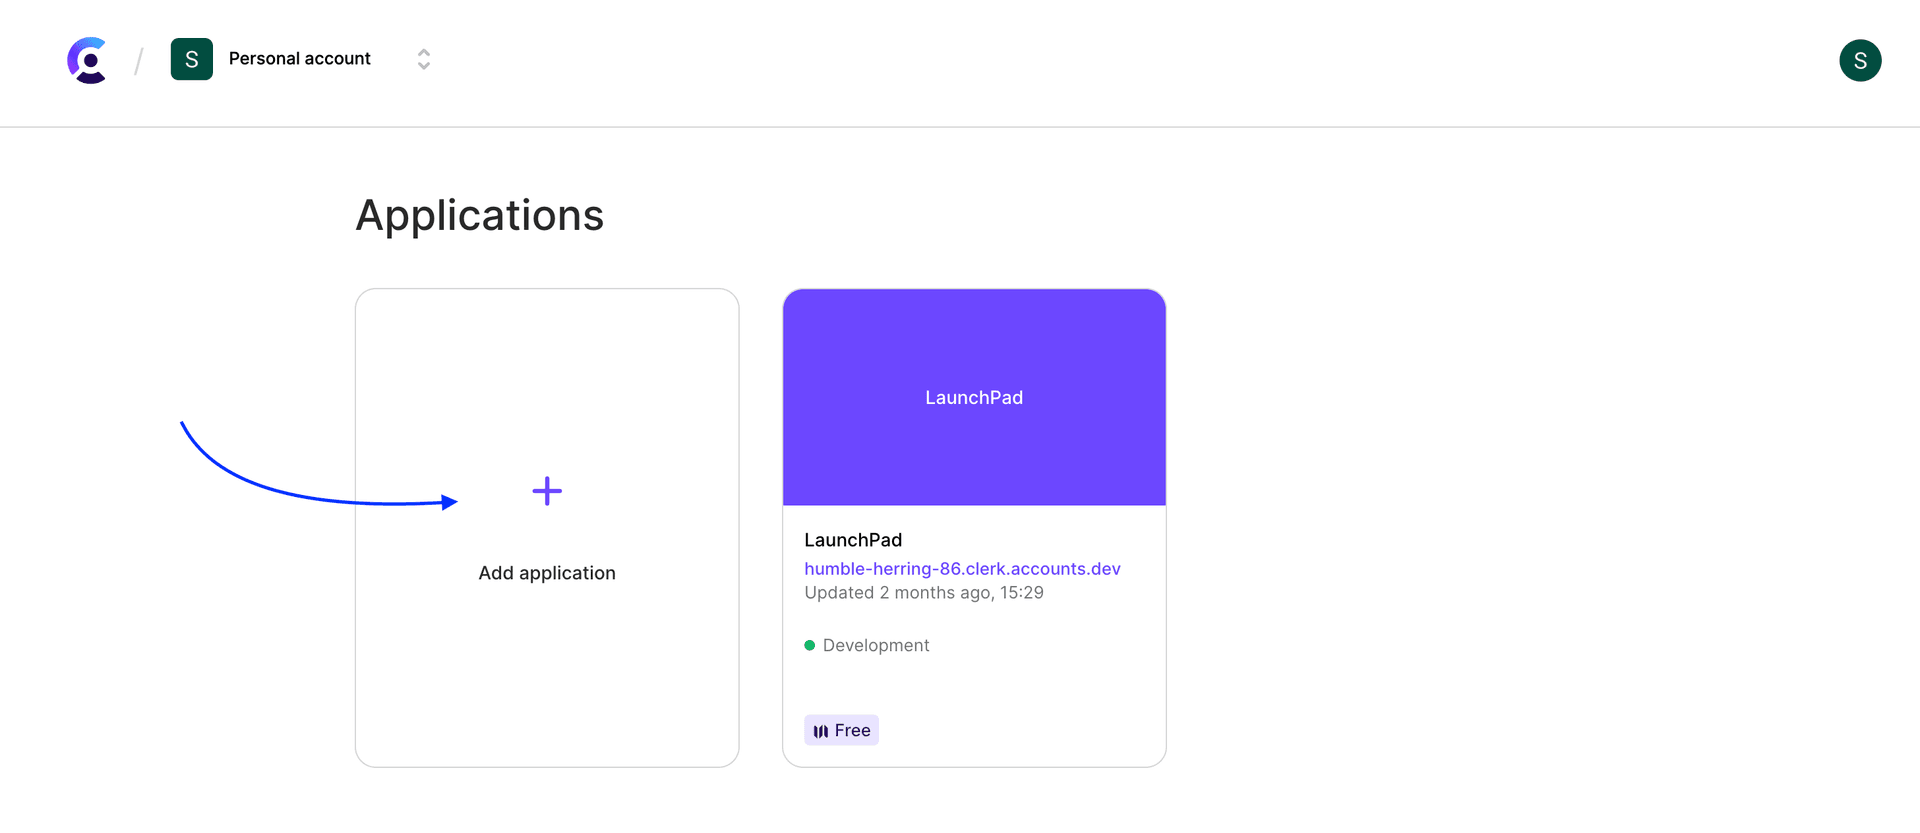
npm run devGreat! We're ready to get started with installing Clerk now. Before we dive into Clerk lets take a look at their dashboard and how we can register a (free) account to begin with. Once you have registered your account, you will be prompted to create a new Application. In the application you can manage your users, organizations, configuration, API keys, domains and much more.

After you clicked Add application it is time to give your application a name and select how users can sign in. There are currently 26 options, but you can always change this at a later stage (without needing to entirely revamp your code). Select your favorite sign-in providers. I will choose email and Google.
Note: your application name can be changed at any given moment by navigating to Configure -> Customization -> Branding, so if you do not have a name in mind right now, lets go with clerk-auth-tutorial.
Configuring Clerk in your Next.js application
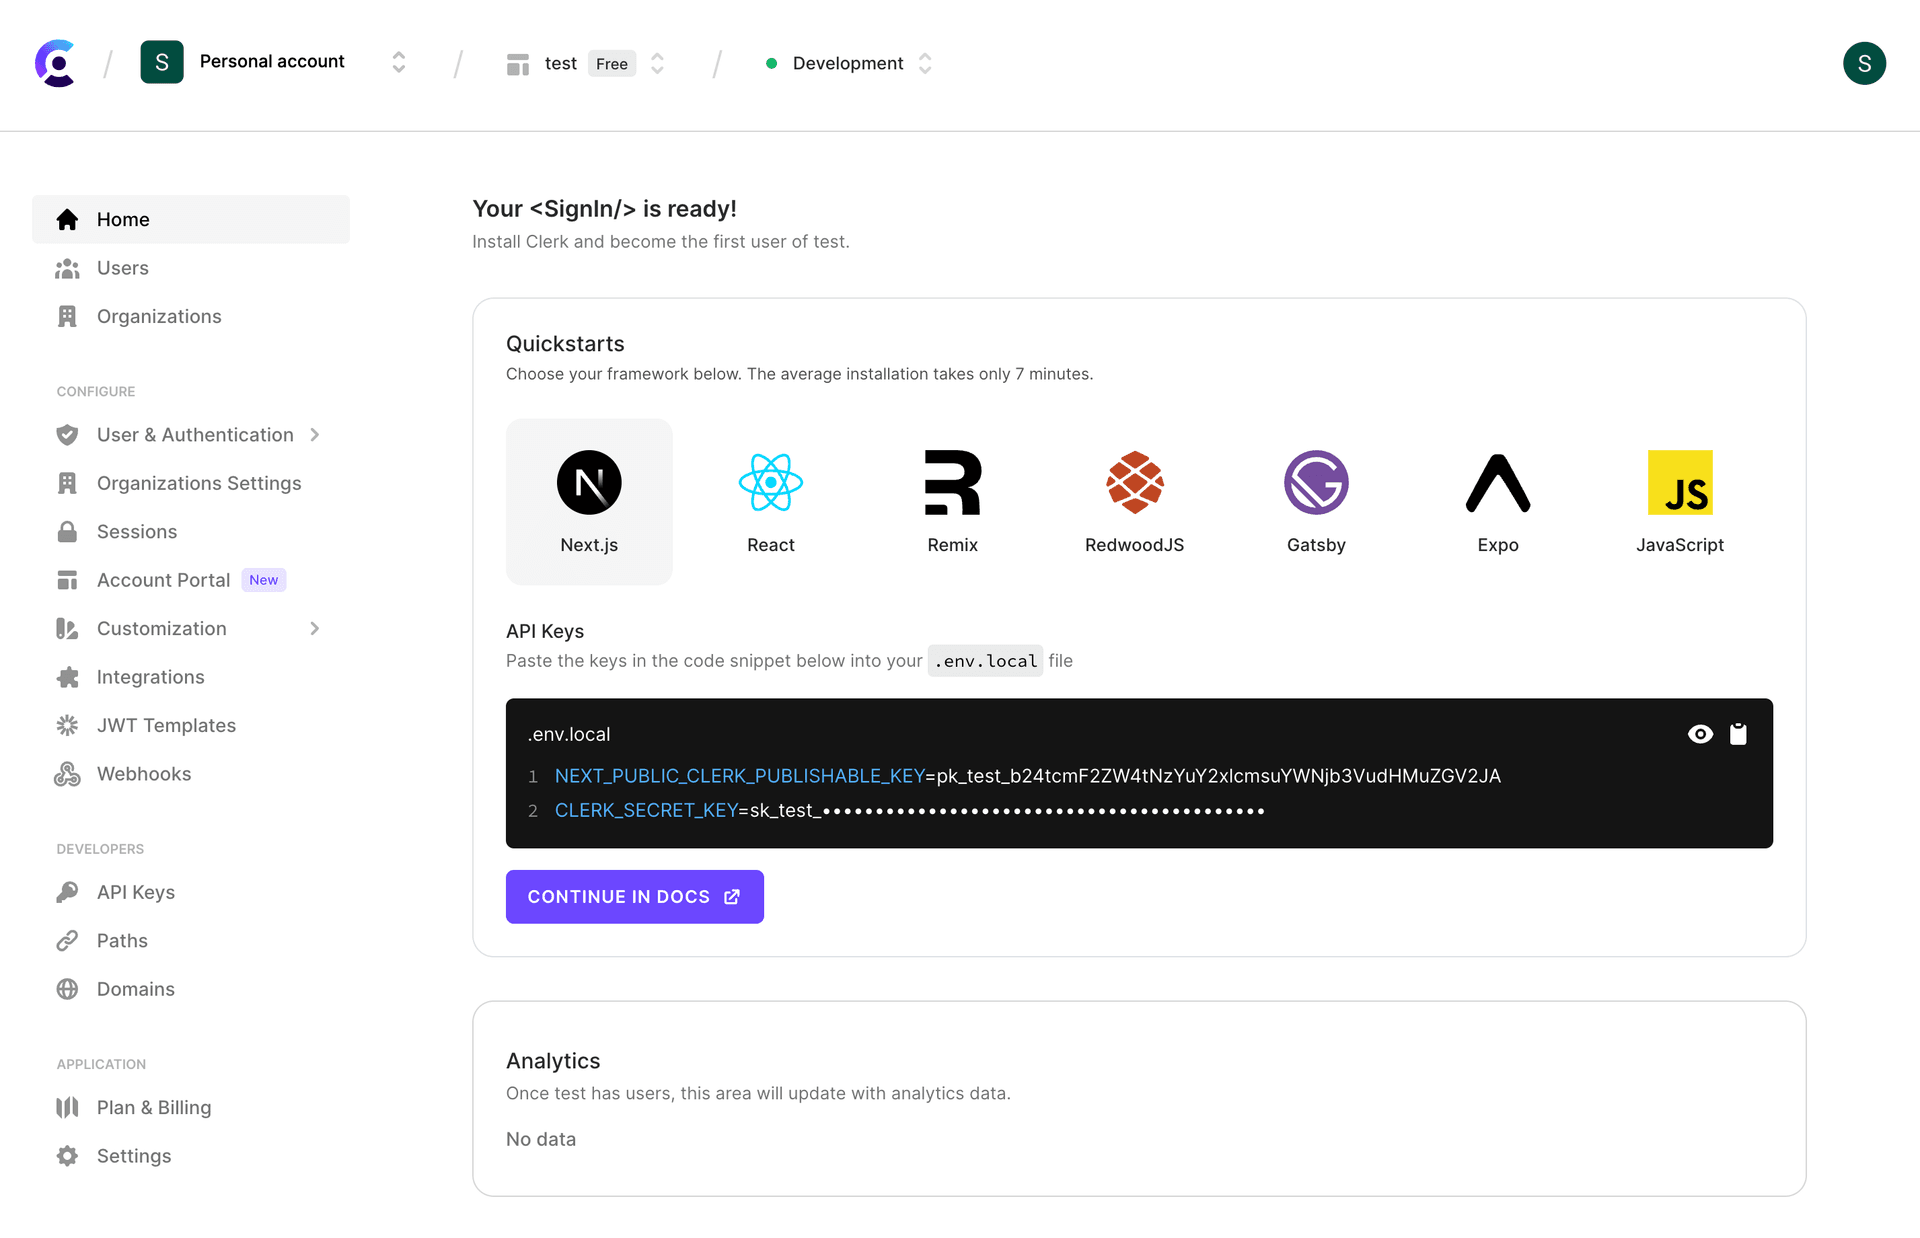
Lets discover the simplicity of integrating Clerk's authentication system into our Next.js project. Before we do anything else, lets copy your API Keys into your .env.local file!
NEXT_PUBLIC_CLERK_PUBLISHABLE_KEY=pk_test_.............................
CLERK_SECRET_KEY=sk_test_.............................
You'll find these API Keys right after you create your first application.

After you pasted the keys in the code snippet generated by Clerk into your env file, we can start installing the Clerk Next.js library.
npm install @clerk/nextjs
// yarn add @clerk/nextjs
// pnpm i @clerk/nextjs
Mounting the ClerkProvider component
In this part of the tutorial we're going to mount the <ClerkProvider /> component to wrap your Next.js application's root layout with the ClerkProvider context. This will ensure that our applicatition can access Clerk's authentication methods and user data.
import { ClerkProvider } from "@clerk/nextjs";

export const metadata = {
  title: "Next.js 13 tutorial with Clerk",
};

export default function RootLayout({
  children,
}: {
  children: React.ReactNode,
}) {
  return (
    <ClerkProvider>
      <html lang="en">
        <body>{children}</body>
      </html>
    </ClerkProvider>
  );
}
Protecting your application routes
With Clerk successfully installed and integrated into your application, the next step is to determine which pages should be accessible to the public and which ones require authentication. To achieve this, we'll create a middleware.js file at the root of your project structure, where we'll define both public and private routes. In our example, we aim to make only the home page accessible to the public, while the remaining pages should remain off-limits until users log in. Achieving this is straightforward using the following code:
import { authMiddleware } from "@clerk/nextjs";

// This example protects all routes including api/trpc routes
// Please edit this to allow other routes to be public as needed.
// See https://clerk.com/docs/references/nextjs/auth-middleware for more information about configuring your middleware
export default authMiddleware({
  publicRoutes: ["/"],
});

export const config = {
  matcher: ["/((?!.+\\.[\\w]+$|_next).*)", "/", "/(api|trpc)(.*)"],
};
Setting up your sign in and sign up pages
Clerk provides prebuilt components that allow you to integrate sign in, sign up, and other user management features into your Next.js application out of the box. In this tutorial we are going to use the <SignIn /> and <SignUp /> components by utilizing the optional Next.js catch-all route.
Build your sign in page
In the app directory create a sign-up folder and then another catch-all [[…sign-in]] folder with a page inside of it. Your route should look like this: app/sign-up/[[…sign-up]]/page.tsx. Make sure to also add the redirectUrl parameter provided by Next.js so that the user can be redirected back to the page they were visiting before or home if there isn't any.
import { SignIn } from "@clerk/nextjs";

export default function Page({
  searchParams,
}: {
  searchParams: { redirectUrl: string | undefined },
}) {
  const { redirectUrl } = searchParams;
  return <SignIn redirectUrl={redirectUrl || "/"} />;
}
Build your sign up
In the app directory create a sign-up folder and then another catch-all [[…sign-up]] folder with a page inside of it. Your route should look like this: app/sign-up/[[…sign-up]]/page.tsx.
Inside the page.tsx file we will add the provided SignUp component from Clerk.
import { SignUp } from "@clerk/nextjs";

export default function Page() {
  return <SignUp />;
}
Update your environment variables
Next, add environment variables for the signIn, signUp, afterSignUp, and afterSignIn paths:
NEXT_PUBLIC_CLERK_SIGN_IN_URL=/sign-in
NEXT_PUBLIC_CLERK_SIGN_UP_URL=/sign-up
NEXT_PUBLIC_CLERK_AFTER_SIGN_IN_URL=/
NEXT_PUBLIC_CLERK_AFTER_SIGN_UP_URL=/
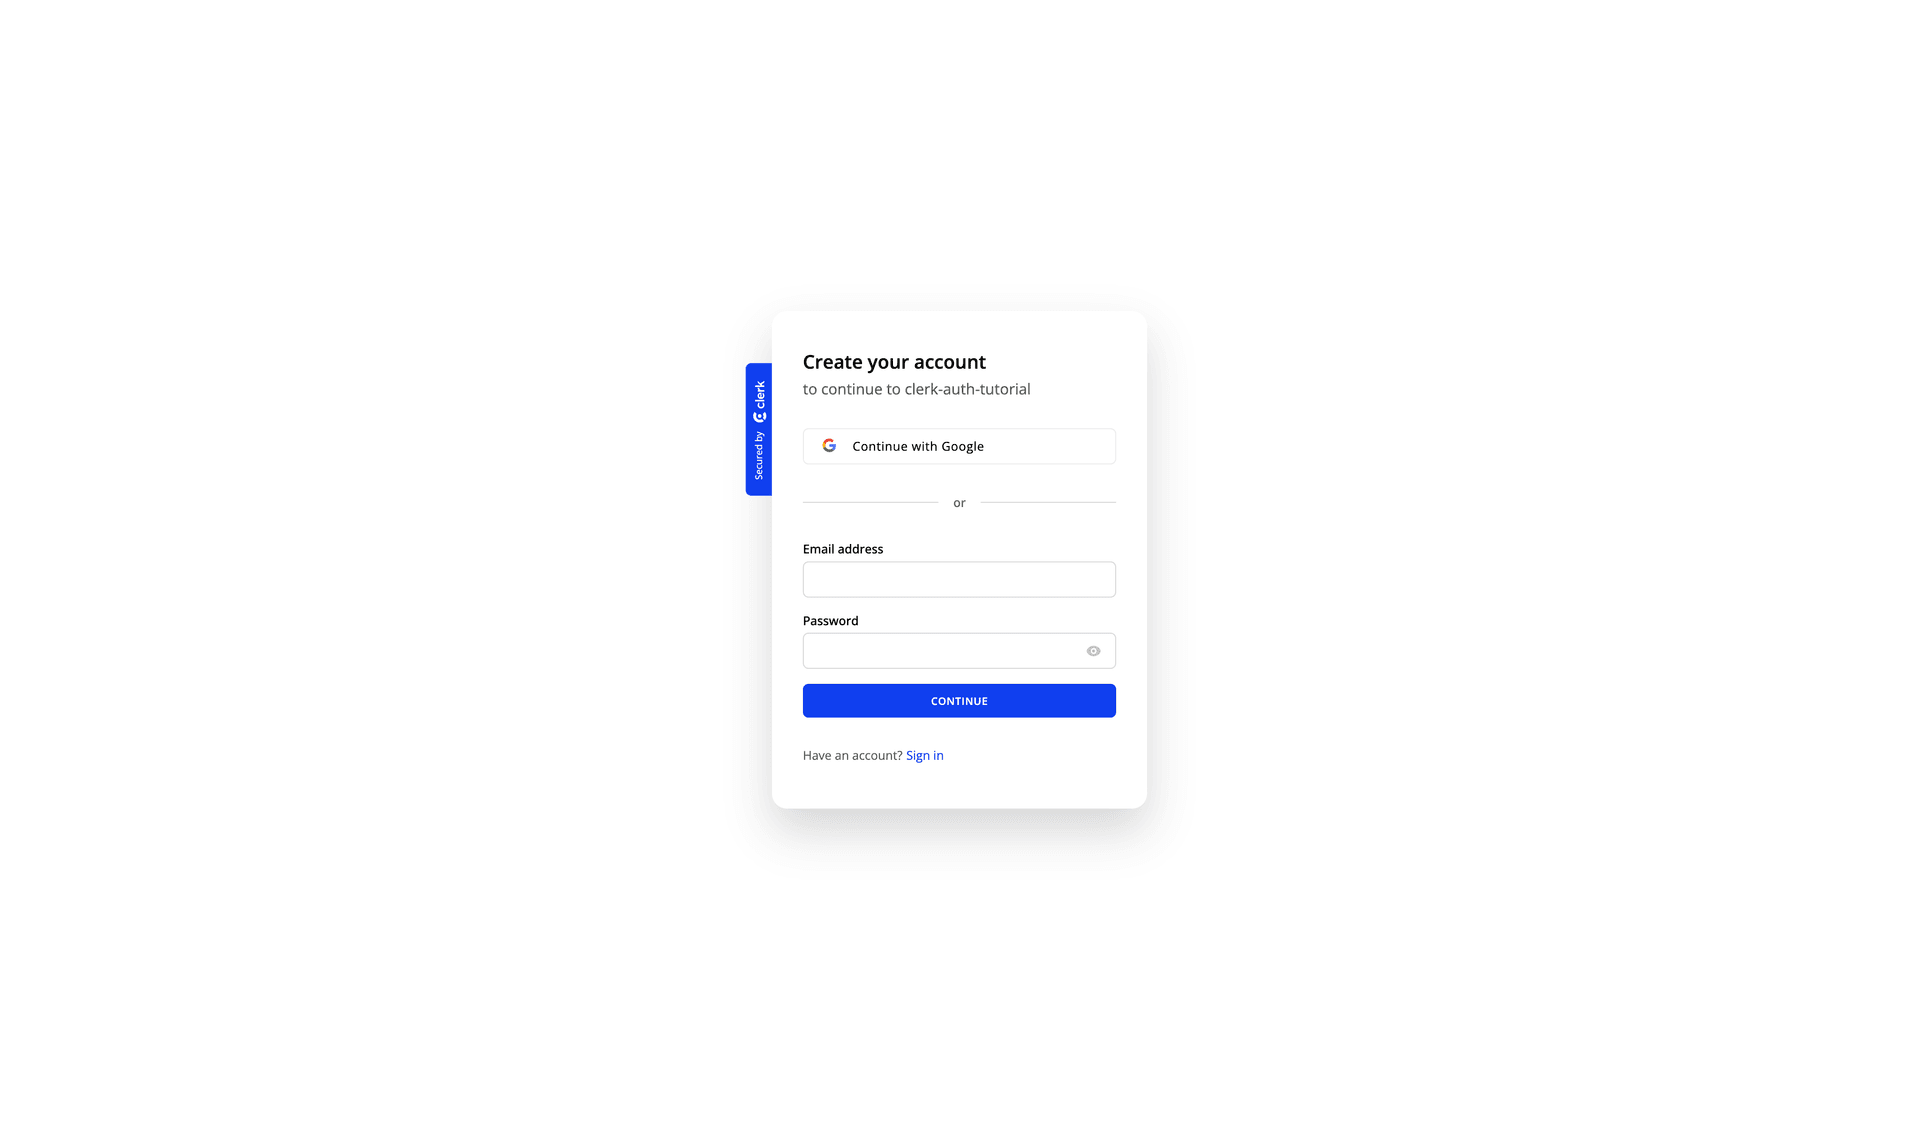
With this in place, When you visit the route http://localhost:3000/sign-up you should be able to load Clerks login page as illustrated below:

Accessing the user profile and singing out
Now that our sign up and sign in is working, lets set up a basic Header component with a user profile dropdown. To do this, we can use the built in <UserButton /> component from Clerk. This component will allow users to manage their account information and log out.
import Link from "next/link";
import { UserButton, auth } from "@clerk/nextjs";

const Header = async ({ username }) => {
  const { userId } = auth();

  return (
    <nav className="flex items-center justify-between px-6 py-4 mb-5 bg-blue-700">
      <div className="flex items-center">
        <Link href="/">
          <div className="text-lg font-bold text-white uppercase">
            Clerk Auth Tutorial
          </div>
        </Link>
      </div>
      <div className="flex items-center text-white">
        {!userId && (
          <>
            <Link
              href="sign-in"
              className="text-gray-300 hover:text-white mr-4"
            >
              Sign In
            </Link>
            <Link
              href="sign-up"
              className="text-gray-300 hover:text-white mr-4"
            >
              Sign Up
            </Link>
          </>
        )}
        {userId && (
          <Link href="profile" className="text-gray-300 hover:text-white mr-4">
            Profile
          </Link>
        )}
        <div className="ml-auto">
          <UserButton afterSignOutUrl="/" />
        </div>
      </div>
    </nav>
  );
};

export default Header;
Now that we created our default header component we have to integrate this into our layout.tsx file.
import { ClerkProvider } from "@clerk/nextjs";
import Header from "./components/Header";

export const metadata = {
  title: "Next.js 13 tutorial with Clerk",
};

export default function RootLayout({
  children,
}: {
  children: React.ReactNode,
}) {
  return (
    <ClerkProvider>
      <html lang="en">
        <body>
          <Header />
          <main className="container mx-auto">
            <div className="flex items-start justify-center min-h-screen">
              <div className="mt-20">{children}</div>
            </div>
          </main>
        </body>
      </html>
    </ClerkProvider>
  );
}
I've also added a main element with two div elements inside of it to center our children and clean up this page. With this in place you should be able to have a fully authenticated application!
Conclusion
In summary, Clerk emerges as the optimal choice for handling authentication and identity management within Next.js and React applications, thanks to its seamless integration capabilities. Boasting dedicated libraries tailored for Next.js and React, coupled with comprehensive API documentation, Clerk streamlines the integration process, saving developers valuable time and effort.
With Clerk, developers can swiftly implement critical authentication features like user login, registration, and user management, harnessing the convenience of Clerk's user-friendly components and robust API. Additionally, Clerk seamlessly harmonizes with diverse application stacks, preserving compatibility without the need for extensive modifications.


